


If you were to ask any woodworker about their craft preferences, it’s unlikely that you will find sanding on anyone’s list. In particular, sanding in tight corners and areas. But the truth is that top-quality tools can make intricate sanding tasks far more pleasant. Therefore, with the help of the SMART Finger Sanding Pad, you can smooth intricate woodwork easily and quickly like a pro.
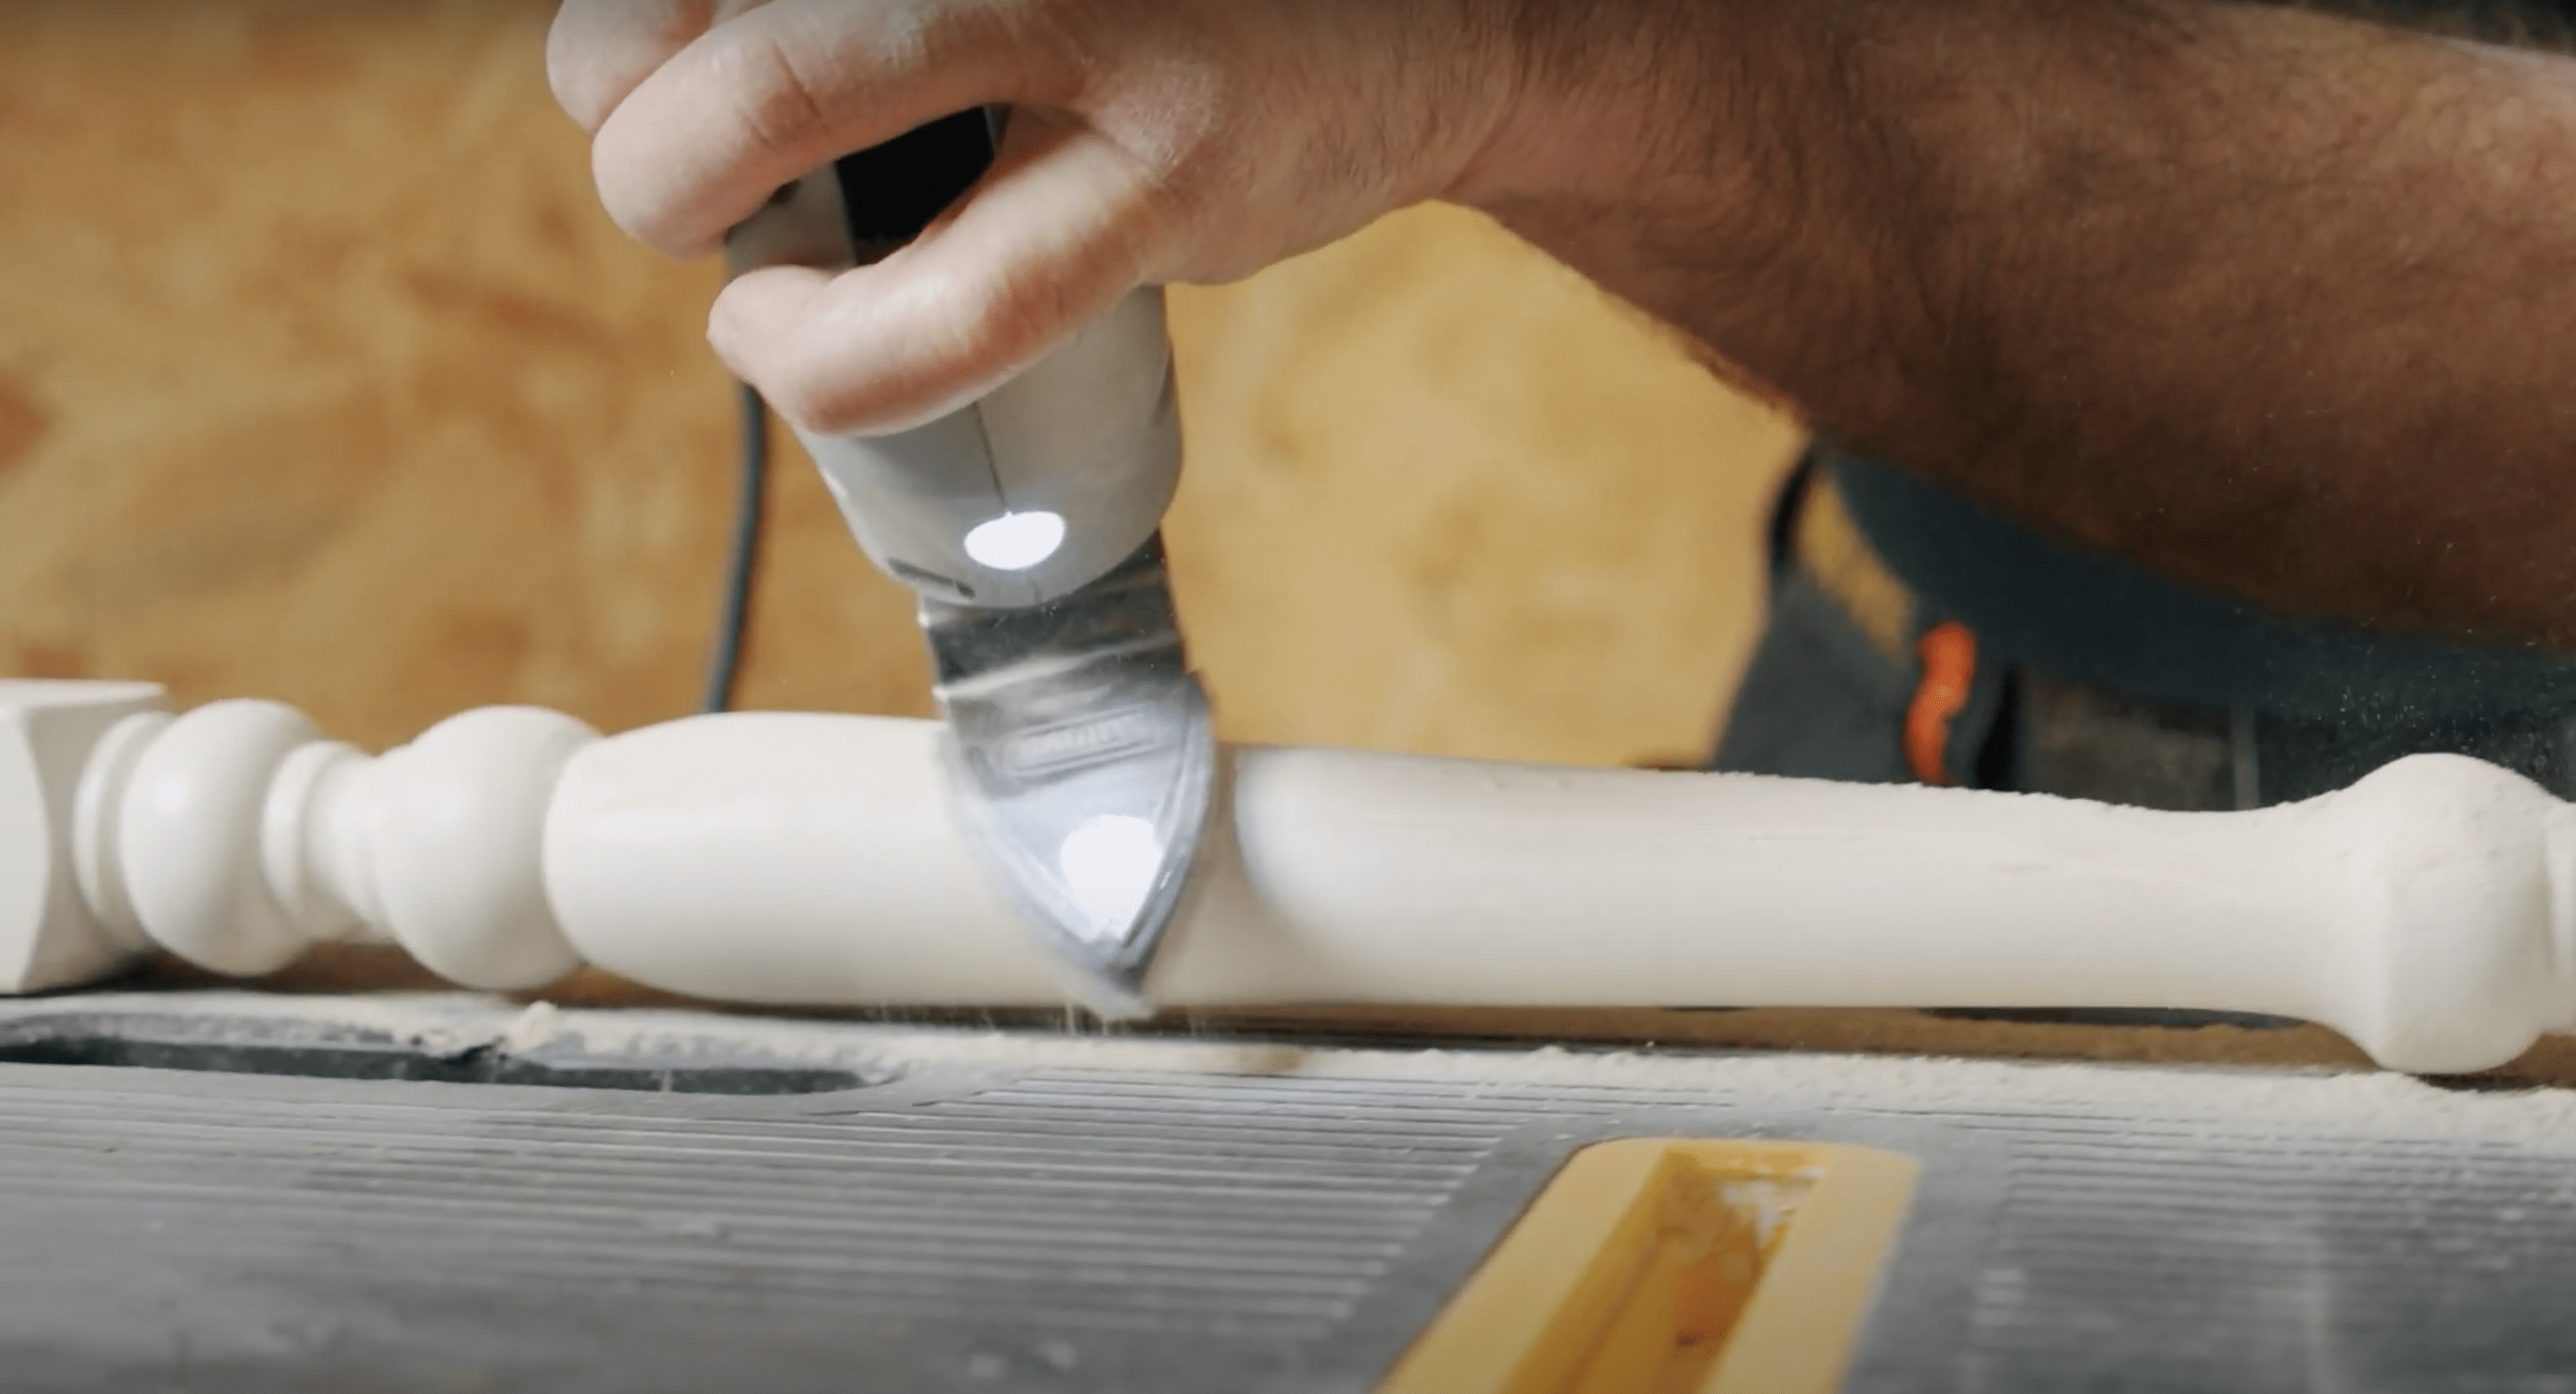
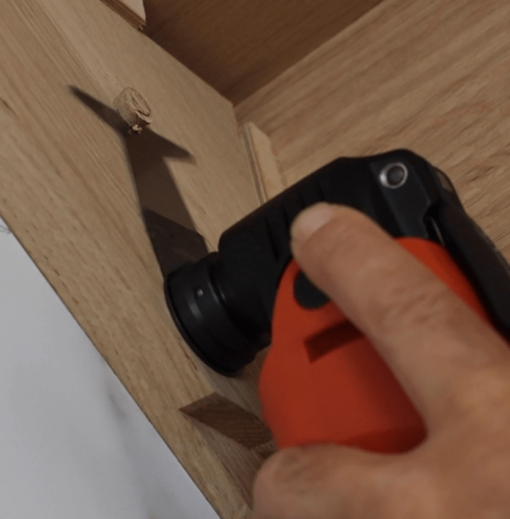
The Finger Sanding Pad is a multi-tool accessory that’s perfect for any intricate sanding work. Its triangular shaped 38mm pad allows you to perfectly fit into tight corners and around curved edges. Whether you need to sand spindles or cupboards that consist of awkward angles this tool is the perfect solution.
If you don’t own a multi-tool there are certainly other tools and techniques. While they will effectively sand intricate areas, they are generally a lot more time consuming. For example, using sandpaper by hand is probably the first method. However, it’s undoubtedly not the quickest method and generally not the best approach.
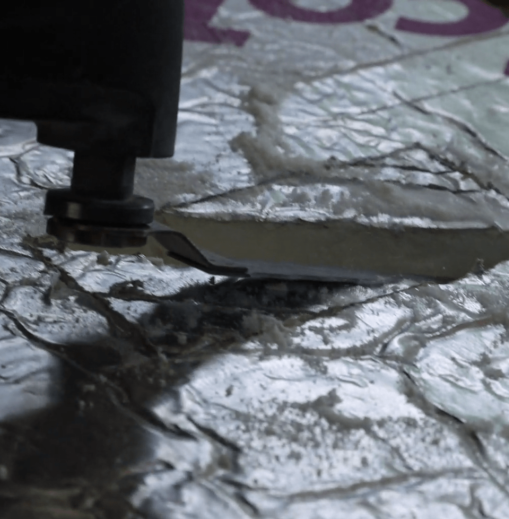
Another alternative tool is a rotary tool which provide quick results in the same way as the Finger Sanding Pad. However, if the wood isn’t hard a rotary tool can be too aggressive. As a result, this can alter delicate shapes and affect the overall quality of the carving.
Nevertheless, the SMART Finger Sanding Pad is ideal for all wood types to achieve fast and accurate sanding. Rather than doing this by hand or investing in high-quality power tools, the Finger Sanding Pad will very simply and cost effectively turn your multi-tool into a powerful handheld intricate sander. Sanding sheets are available singly or as a 20-piece mixed pack for a cost-effective option. The grit size available include 60, 80, 120 and 240.
1. Prep the surface
It’s important to prepare the surface first for sanding by cleaning the surface with a damp cloth. Ensure the surface is dry before you start sanding.
2. Attach the tool
When you are ready to start sanding, attach the Finger Sanding Pad to your multi-tool followed by the sanding sheet of your choice.
3. Begin sanding
Begin sanding the surface on a low to medium setting whilst applying a light but even pressure. This will ensure you attain a smooth and even finish.
Top tip: Be careful not to over sand a single area to prevent the surface from becoming uneven and distorted. And try and apply even pressure across the pad to save it from wearing out on one area.
Find your local SMART stockist today!

We at SMART are always looking to provide new solutions to your problems. That is why the ....

The team at SMART® has prided themselves on establishing our company as a world-class pro....
Cross grain wood pellets can provide a seamless finish to a project, concealing screws, bo....
Anybody that works in construction, or any other trade, will frequently find themselves ta....

SMART Tool Group Global strive to be at the forefront of global multi-tool accessory innovation and offer one of the most comprehensive and high-quality multi-tool accessory solutions in the world.
Through focus, innovation and dedicated marketing support, SMART Tool Group Global have not only built the range to be market leading in terms of performance, but also, offer one of the largest ranges of multi-tool blades on the market, and the very best solution for every distributor.
E: sales@smarttoolglobal.com
T: +44 (0) 1245 890 334


